How to Change Blogger Post Body Font By CSS Trick?
How to Change Blogger Post Body Font By CSS trick. You can customize your blog post body default font by a simple trick, though there are many font available but not all are suit for your blog site.
There are thousands of themes for bloggers available, but only most of the new blogger themes are responsive while some old ones are not. Specially blogger's old default theme. Instead of a responsive desktop theme, it shows a mobile theme to mobile users.
One major issue for blogger is that we can't quickly alter our default font. The blogger built-in theme editor also does not help most of the modern blogger theme.
You can't change the font properties of your blog easily by the blogger theme customizer and by any other template. Many people only adjust templates because they don't like the default font family, font colour and style and size, etc.
But in this tutorial, I will show you about changing Blogger post body font in almost all types of Classical, Modern and Custom blogger theme.
You can customize your post body default font by using a theme customizer or by simple CSS tricks where applicable.

There are many fonts available but not suit all with your blog site. So for changing your blog font style you can apply the simple trick. You can use it according to your wish.
How to Change Blogger Post Body Font in Classic Blogger Theme?
For this tutorial, I have selected Blogger ‘Simply Simple theme’. In this classical blogger theme, they use 'Trebuchet MS' as a font family by default. And you can easily change this font according to your desire.
To change the font please follow the below steps:
Step #1: Log in to your Blogger account and Go to your Blogger Dashboard
Step #2: At the top left, click the 'Down arrow' and Select a blog to update.
Step #3: In the left menu, click Theme.
Step #4: Now click the down arrow next to 'CUSTOMIZATION' and click 'Edit HTML'
Step #5: Now Locate below code
<Group description="Page Text" selector="body"> <Variable name="body.font" description="Font" type="font" default="normal normal 12px Arial, Tahoma, Helvetica, FreeSans, sans-serif" value="normal normal 12px 'Trebuchet MS', Trebuchet, Verdana, sans-serif"/> <Variable name="body.text.color" description="Text Color" type="color" default="#222222" value="#666666"/> </Group>
Here 'Trebuchet MS' is the default font and you can change the font by replacing the font name like 'Helvetica’.

After changing the default font name to 'Helvetica’

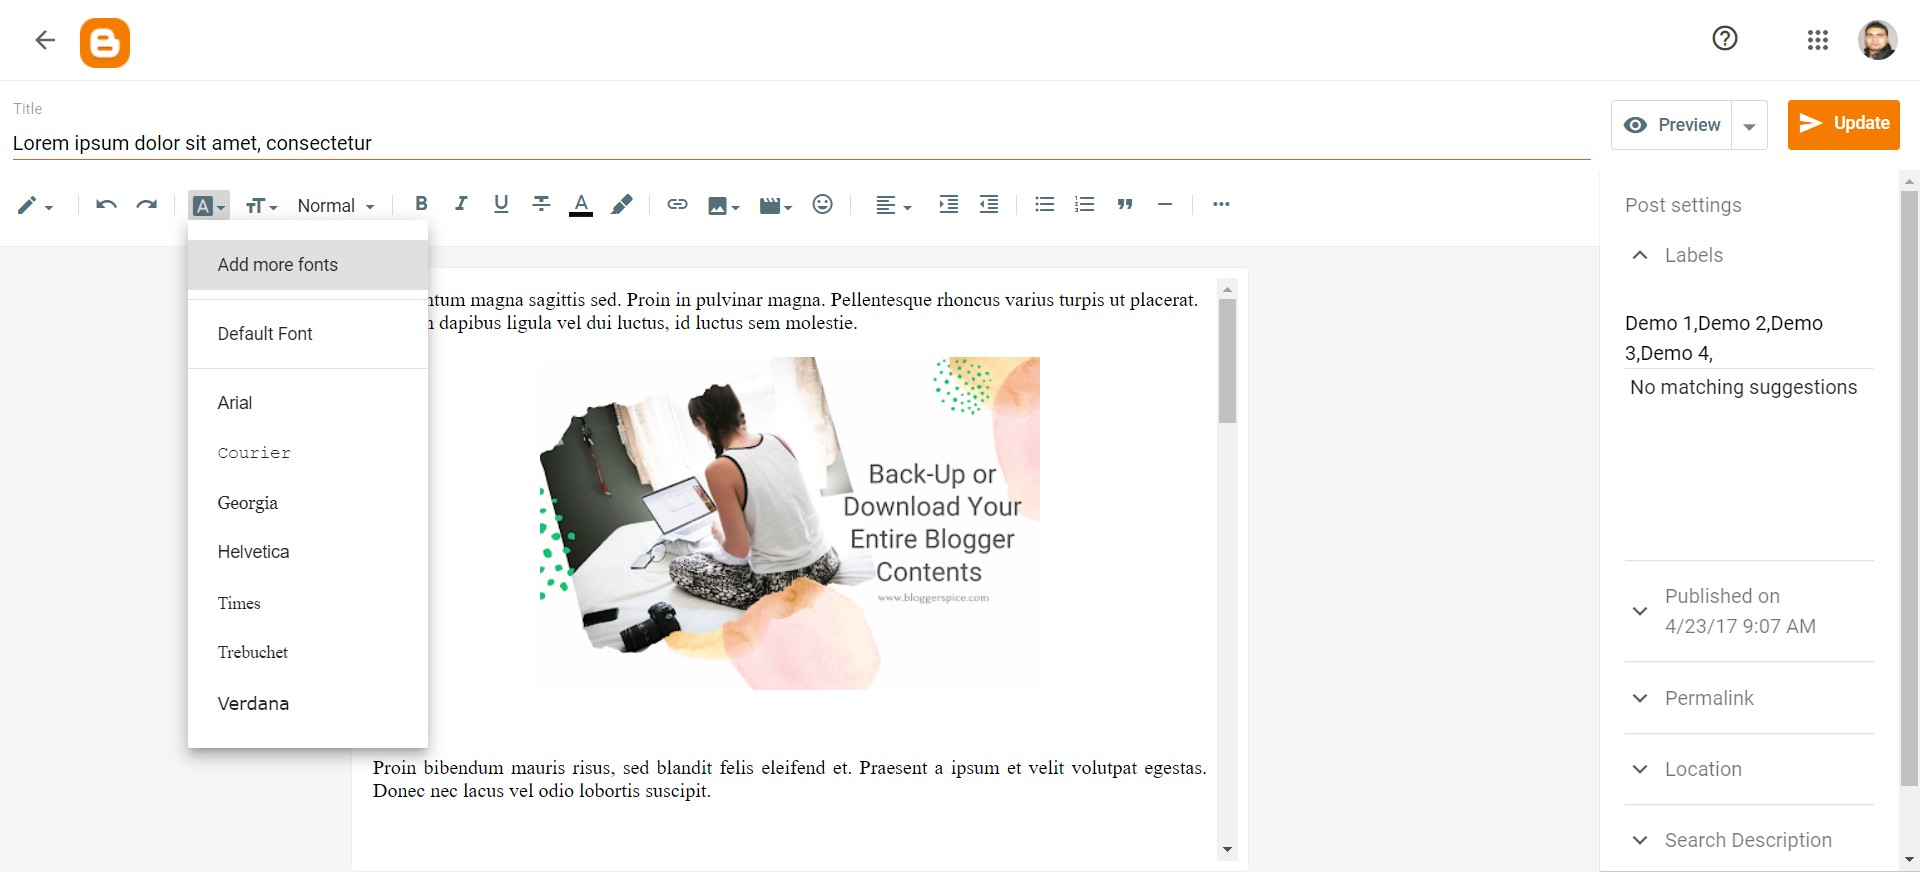
This method will work on default 7 built-in font in Blogger classical theme.
- Arial
- Courier
- Georgia
- Helvetica
- Times
- Trebuchet
- Verdana

Step #6: Simply save the blogger theme to make it change.
You can use any font name just by replacing the font name. But it is good to know the different Font family. I have given below-
- font-family: "Arial Black", Gadget, sans-serif;
- font-family: Arial, Helvetica, sans-serif;
- font-family: "Andale Mono", "Monotype.com", monospace;
- font-family: "Bookman Old Style", serif;
- font-family: "Comic Sans MS", cursive;
- font-family: "Courier New", Courier, monospace;
- font-family: Courier, monospace;
- font-family: fixedsys, monospace;
- font-family: Georgia, serif;
- font-family: Garamond, serif;
- font-family: Impact, Charcoal, sans-serif;
- font-family: "Lucida Sans Unicode", "Lucida Grande", sans-serif;
- font-family: "Lucida Console", Monaco, monospace;
- font-family: "MS Gothic", monospace;
- font-family: "MS Sans Serif", Geneva, sans-serif;
- font-family: "MS Serif", "New York", sans-serif;
- font-family: "Palatino Linotype", "Book Antiqua", Palatino, serif;
- font-family: Symbol, sans-serif;
- font-family: System, sans-serif;
- font-family: Tahoma, Geneva, sans-serif;
- font-family: Techno, Impact, sans-serif;
- font-family: "Times New Roman", Times, serif;
- font-family: "Trebuchet MS", Helvetica, sans-serif;
- font-family: Verdana, Geneva, sans-serif;
Alternative Method
you can place a CSS code to change the blogger post-body font.
Step #1: After login to your Blogger theme just Edit HTML And locate ]]></b:skin>
Step #2 Now copy the below code and paste the code from below Before/above the ]]></b:skin>
.post-body {font-family: ‘Georgia’,Times New Roman,serif;}
Here I have set ‘Georgia’ font as the default Blogger post-body font.
Step #3: Now save the blogger theme to make the change.
How to Change Blogger Post Body Font in Modern Blogger Theme?
Most of the Blogger Modern theme use ‘Lora‘ font as default in post-body.

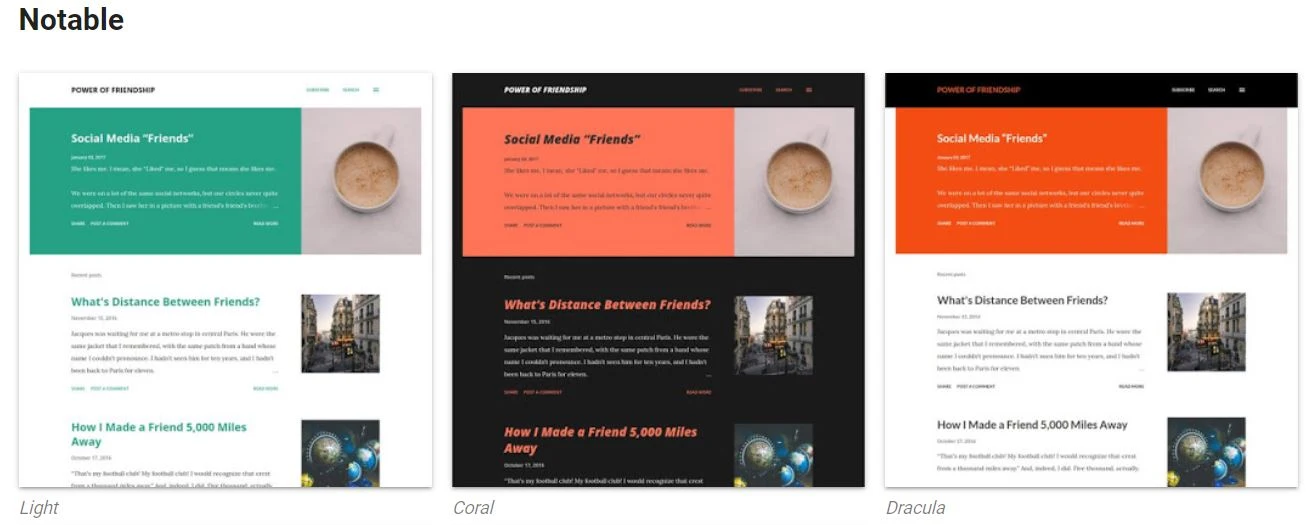
For example, I have selected the ‘Notable’ Blogger theme. And I will show you how to change the body font in this template to 'Lora', so all you have to do is to use the Blogger Customize feature. Just follow the below steps:
Step #1: Log in to your Blogger account and Go to your Blogger Dashboard
Step #2: At the top left, click the 'Down arrow' and Select a blog to update.
Step #3: In the left menu, click Theme. And ‘CUSTOMIZE’ button.
Step #4: Instantly Blogger Theme customizer will open. In the left customizer menu click ‘Advance’. And choose a font by using the drop-down option. You can also select the Font Style and Size.

Step #5: And click the save icon from the bottom right of the screen to make the change.
 |
| The above image containing the blogger default 'Lora' font. |
The above image containing the blogger default 'Lora' font.
Now check your blogger theme to see the shining new font.
 |
| The above image containing the Blogger Post body with 'Josefin Sans' font. |
For the tutorial purpose, I have changed the 'Lora' font to 'Josefin Sans' font.
How to Change Blogger Post Body Font in Custom Blogger Theme?
For example, we want to change the body font in this template to 'Noto Sans', so all you have to do is change the part marked in the code above with the name of the selected font, the result is like this:
To avoid errors, you have to add a value="..." changed into "Noto Sans".
If the above procedure is not working for you then find the 'body' code from your blogger theme and it would be like the below code.
You can see with a font-family name. Just replace it with the other default font name i.g. Ariel, Curier new, Impact, Georgia, Verdana etc.
But in this case, you need to insert a custom Google font. Here I have used 'Noto Sans' as font family as blog post body font. But this is Google's custom font. And for adding custom font you have to embed the font in your blogger theme. You can have a look at it below. To embed this font you can follow the below steps:
Step #1: From your Blogger theme locate ]]></b:skin>
Step #2: Now copy the below code and paste the code from below Before/above the ]]></b:skin>
Step #3: Now save your theme and check your blogger theme that it has changed with your new applied font.
Instead of custom font, you can use the blogger default font.
Remember that you can also add any other font you like. Just add the font file first after that add code like below:
- .post-body {font-family: Add Your Font Family Here}.
e.g.
- .post-body {font-family: 'Noto Sans', sans-serif}.
I hope this Font changing tutorial will help you to change your Blogger theme font. If you face any trouble then feel free to leave comments below.

24 comments
any way your template is awesome!
.post {
margin:.5em 0 1.5em;
border-bottom:1px dotted $bordercolor;
padding-bottom:1.5em;
}
and add below code before }
font-size:15px;
and replace
and see this tutorial how to boost up alexa rank?
Regards
R.S
.post-body {font-family: Georgia,"Times New Roman",serif;}
this template default code is Georgia
Thank you so much :)
can u help me check because i didn't see any changes happened once i saved.
http://sinopsisberita.blogspot.com
font: normal normal 16px Josefin Sans;
Here your template main font is ''Josefin Sans'' and font size is 16px so change those and it will work now. Thanks
http://www.bloggerspice.com/2014/11/How-to-use-custom-Google-font-in-website.html
Thank you
:w http://www.bloggerspice.com/2014/11/How-to-use-custom-Google-font-in-website.html
Thank you
Please help!
God Bless!
JM Kayne | www.iamjmkayne.com
This post is outdated now. Please follow the below URL for latest tutorial.
http://www.bloggerspice.com/2014/11/How-to-use-custom-Google-font-in-website.html
:)
I want to use Bangla Google font "Baloo da 2" in fletro pro or jet blogger template. But i don't find any solution..plz help.
For adding custom Bangla font please follow my another tutorial
https://www.bloggerspice.com/2014/11/How-to-use-custom-Google-font-in-website.html
and to get Bangla font code from Google Fonts please visit
https://fonts.google.com/?subset=bengali
Thank you. 😊