How to change Blogger Official Contact Form With CSS coding
How to change Blogger Official Contact Form With CSS coding
We have already discuss about blogger’s official
contact form but it is very simple which is not eye-catching to your visitors.
So I have tried to add some spice thus you can make it more attractive. If you
want to change any default widget you must use CSS coding so I have used some
CSS trick to change the looks better. This is the part 1 of the tutorial and in
my next tutorial I will discuss how you can transfer in Blogger pages.
How To add Blogger default Contact Form?
Step 1 Log in to your Blogger account and Go to your Blogger Dashboard
Step 2 Go to your Layout tab.
Step 3 Click on "Add a Gadget" then select "More Gadgets" .
Step 4 Now Select the "Contact Form" Gadget.
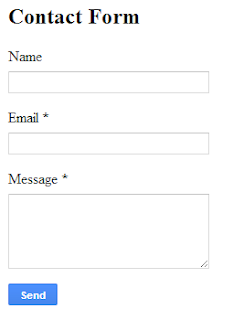
Final Output of the Contact form will be like below--
How To Customize the Default Contact Form?
Step 1 Log in to your blogger account and Click on Template ->
Step 2 Now click on Edit HTML-> Unfold code ►
Step 3 Now find ]]></b:skin> by Pressing Ctrl + F
Step 4 And Paste the below code above ]]></b:skin> and save your template
/*Contact Form With CSS by www.bloggerspice.com*/
.contact-form-widget {
width: 280px;
max-width: 100%;
margin: 0 auto;
padding: 10px;
background: #04BDFA;
color: #000;
}
.contact-form-name, .contact-form-email, .contact-form-email-message, .contact-form-button-submit {
width: 100%;
max-width: 100%;
margin-bottom: 10px;
}
.contact-form-button-submit {
border-color: #004065;
background: #005C91;
color: #fefefe;
}
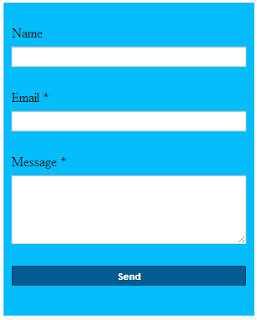
- Customized Contact Form would be like below image
If you have any query just feel free to contact with me.


Post a Comment